Autumn is a time of leaves turning amber, log fires being lit and darker nights setting in. It is a favourite time of the year for many, especially those of us involved in the mature planting industry.
Officially starting on 22nd September, the season brings crisp mornings, usually a little more rain and sees air temperatures drop and ground/soil temperatures start to gradually decrease. After the hotter summer seasons where most of the growth occurs for many plant species, roots start to lie dormant, creating the best environment for plants to be moved from one place to the next, minimising distress to the living organism.
The cooler environments are particularly favourable when transplanting larger hedging and topiary, where the maturity of the plants can sometimes be upwards of 20 years in age. Lifting out of the ground at the right time and in the right conditions can ensure their successful establishment within their new environment.
The transplanting season runs from the beginning of October through to March, when we see the vernal equinox (20th March), a date widely known to many keen gardeners when they prepare vegetable beds for summer, autumn, and even winter.
In this blog post, we share our knowledge on how to ensure the successful planting of mature topiary and hedging.

Soil quality differs widely from location to location, the texture, pH levels, organic matter and the three major nutrients required for successful plant growth (potassium, phosphorus and magnesium) all play key roles. Ensuring that the balance is right before transplanting can determine the success and long-term health of the stock. If there is uncertainty, it is recommended that a soil test is carried out. This will check all the necessary levels and then recommendations can be made as to what needs to be added during installation.
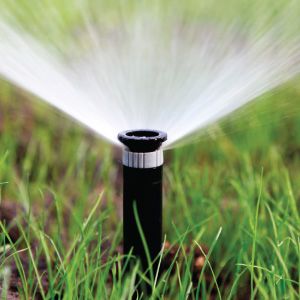
In terms of our typical hedging elements and the trenching required for planting, the units themselves have a root ball size of 45-60 cm in diameter, so the trench will need to be large enough to accommodate this. It is important to remember that it is highly advisable to install irrigation to keep the hedges watered. So remember to factor in irrigation piping and ensure it is accessible from an outside supply/tap.
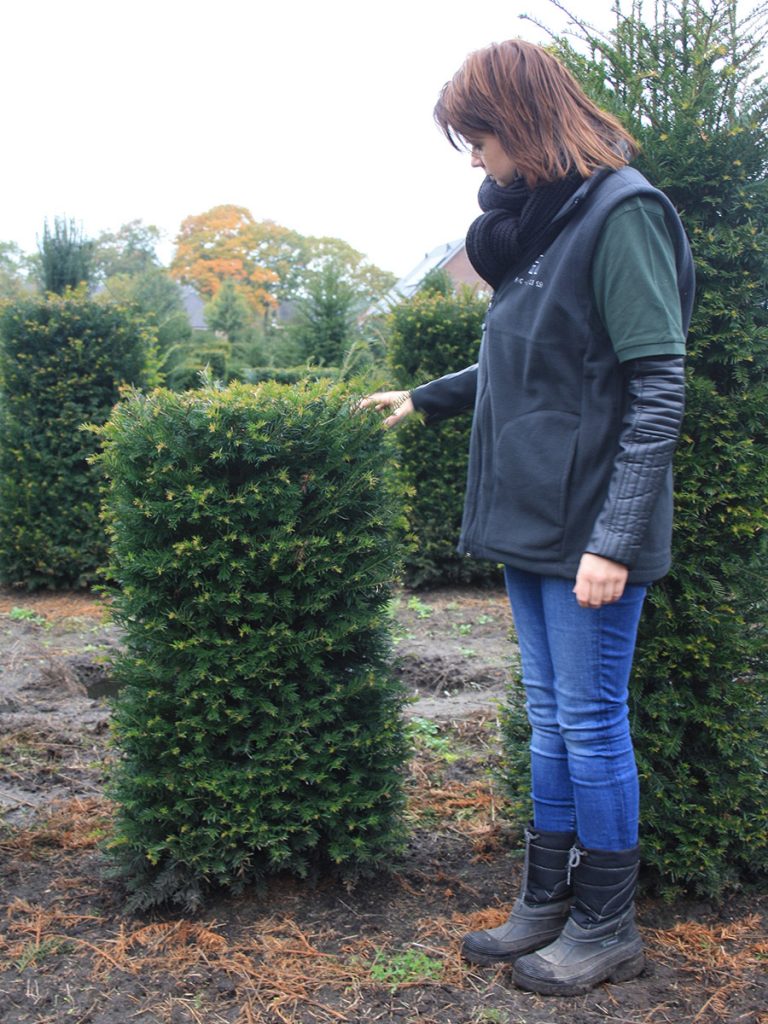
Evergreens, which do not drop their leaves/needles, are a popular choice as they can provide all year-round shelter and privacy. They do however need more maintenance, requiring pruning once a year, and ideally twice, to maintain a neat form. We suggest planting root grown evergreen species from early autumn, but we can plant throughout most of the year depending on the health of the soil and the temperature of the summer.
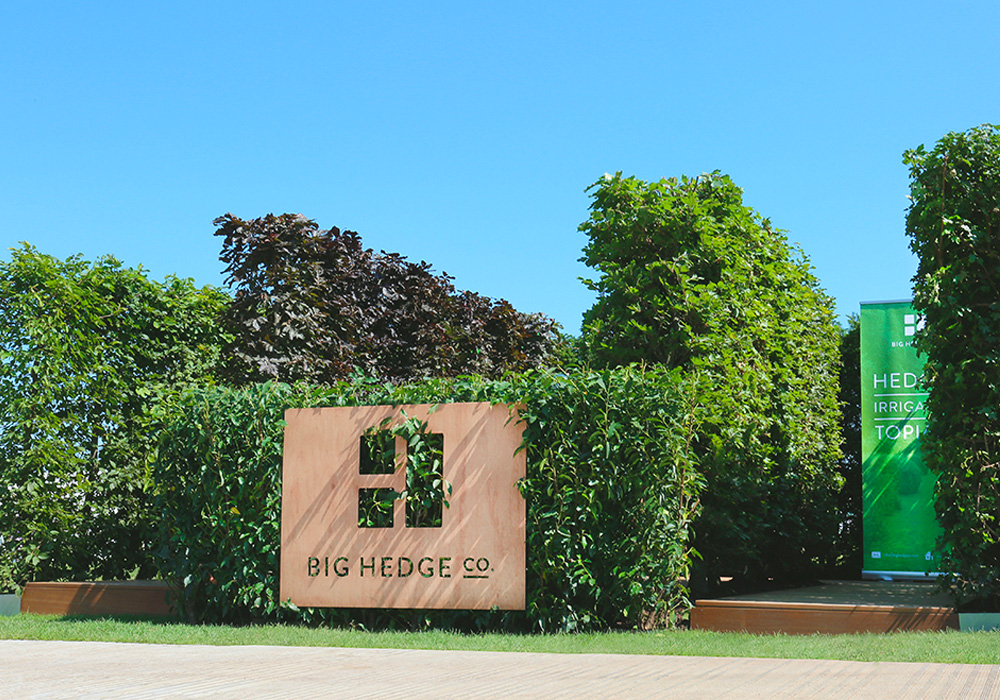
At Big Hedge Co. we have multiple species available, including Holly (Ilex Aquifolium), Japanese Holly (Ilex Crenata), Portuguese Laurel (Prunus Lusitanica), English Yew (Taxus baccata) and Western Red Cedar (Thuja plicata). They range in height according to species, from 80 cm to about 300 cm, usually in increments of 30 cm, however, with the Western Red Cedar these start from 250 cm up to a monstrous 600 cm.
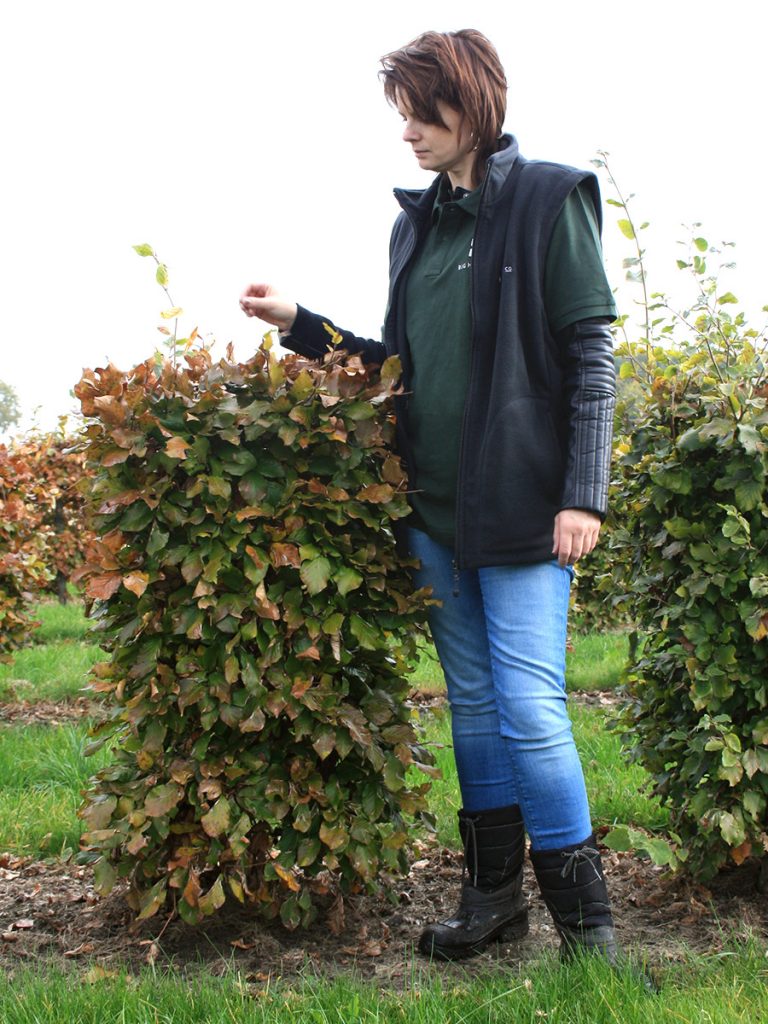
Deciduous hedging offers a fantastic range of coloured foliage – with stunning foliar displays during the autumn months. They do however drop their leaves throughout the winter with the one exception of Beech. But this can be beneficial in some circumstances, especially if winter winds play a part - which can sometimes cause harm and uprooting.
We usually look to plant our root ball deciduous hedging a little later than evergreen, the best time being when the leaves drop, from around mid-autumn to late winter.
At Big Hedge Co. we have many different species available, including Copper Beech (Fagus Sylvatica Atropunicea), Field Maple (Acer Campestre), Hawthorn (Crataegus Monogyna), Hornbeam (Carpinus Betulus) and Green Beech (Fagus Sylvatica). Most species are available from 100 cm up to 300 cm in height.
Once the ground has been prepared with trenches dug, it is best to position the hedges in the ground before backfilling. This will allow you to carry out a visual inspection and make easy adjustments before the soil is compacted around the root ball. Our Big Hedge Co. instant hedge elements are already pruned to an exacting standard and most species are delivered in 50 x 50 cm elements so that so they can edge together seamlessly.
Once they are in place, they are then ready for backfilling with either a new soil mix (pre-determined if necessary from a soil inspection/test) or existing materials (natural manure is a great option to mix with the soil used for backfilling). Then a top fertile layer of soil is added.
It is recommended that all installations have irrigation installed as the mature hedging elements require a lot of water, around one 2 litre bucket per root ball, 2 to 3 times a week for the first year. It is vital that the hedging gets enough water, otherwise, the root system will not develop.
The best time to water the hedging during the summer months is in the evening, as this ensures that the water does not evaporate. If you plant your hedging in a windy area, it may be subject to moving, the strength of the wind forcing the roots to move and crush. In severely windy areas we recommend putting up a windbreak for the first season of growth and establishment.
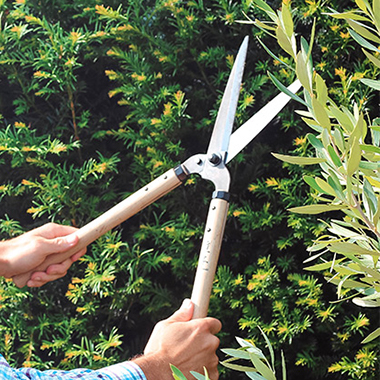
Pruning is essential to keep your hedging looking great all year round. As mentioned earlier in this article, evergreen ideally would like two prunes per annum, with deciduous requiring one. The best time to do this is late winter to spring, with evergreens pruned mid-summer as well.
Pruning helps to keep your hedging in perfect shape and allows you to control its height. When trimming, it is recommended that you cut your hedging just above the newly emerging buds, so it has a place to grow back from. Whether you need to cut back a large area or just a few small branches, Niwaki tools are definitely our weapon of choice!
If you have any further questions or would simply like to chat to one of our team for advice, please contact us on 01244 880422, or alternatively email the team at create@bighedgeco.com